
First of all, let’s make some concepts about Salesforce Change Sets clear.
A change set is a way to send information about customizations from one organization to another.
For example, we could create and test a new custom object in a sandbox organization and then push it to the production organization using a change set.
Conversely, we could also copy custom objects into a Sandbox without having to update it.
Change sets can contain customizations to new or existing components (such as applications, objects, reports, classes, triggers, etc.), but they cannot be used to delete or rename any component, these actions would have to be performed directly in the organization; that is, they can only contain modifications that we can make through the configuration menu; For example, we can’t use a changeset to upload a list of business records.
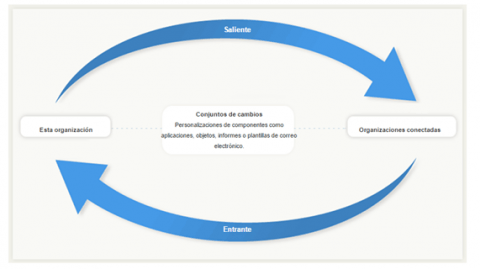
Change sets can be incoming or outgoing. Outgoing will be those changes that we want to send to an organization; while the incoming ones are precisely the changes that are being implemented and that come from the other organization.
In order for change sets to be sent between organizations, there needs to be a deployment connection, this connection is automatically created between all related organizations whenever a Sandbox is created.
Let’s see with an example, how to create a deployment from a Sandbox to a Production instance:
From the Sandbox environment, we go to Configuration –> Deploy: Outbound Changesets
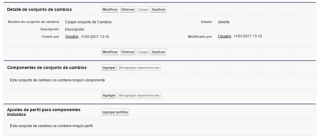
In the next screen we specify the detail of this set that we want to load, adding the components
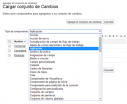
Once we have incorporated all the elements that will make up this set of changes, press the Load button and select the Production organization that we have connected
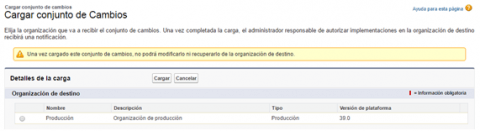
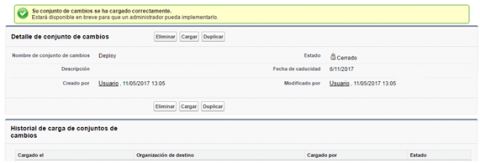
After loading the Outgoing changeset we will not be able to modify it, nor add or delete new components, it will have to be duplicated in order to update it.
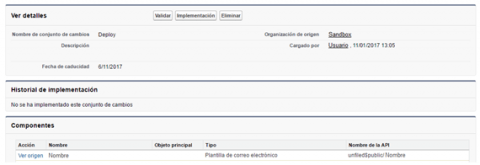
In the target organization (Production in our example) we go to Incoming change sets where we have to: 1º Validate and 2º Implement.
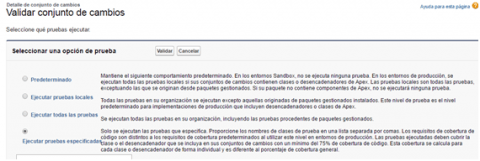
We select the mode of execution of the tests
When you select Validate, the system will inform us.
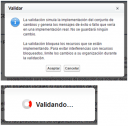
And we will be able to see the detail of the validation
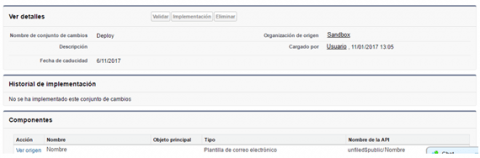
We can have a successful or failed validation:

Once the validation is complete, if it has finished without errors, a quick deployment can be performed, with the Quick Deployment button
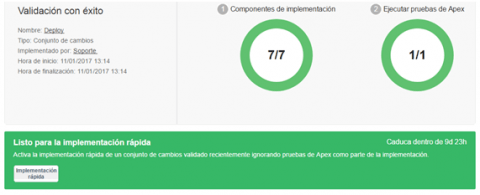
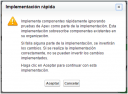
When selecting the option, the system will inform us

And if we go to the detail of the implementation, we can see that our implementation has been done successfully.
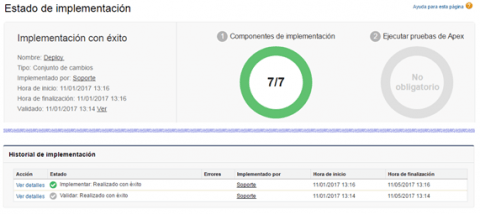
It is important that we keep in mind that depending on which components we are implementing in our Production instance, some of these are loaded initially deactivated and we have to activate them manually.
